Showing posts with label wood. Show all posts

Monday, January 2, 2017

6 Simple Ways To Get More Heat From Your Wood Stove

6 Simple Ways To Get More Heat From Your Wood Stove

Photographer: Daniel Morrison / Flickr / Creative Commons / https://creativecommons.org/licenses/by/2.0/


When the weather outside is frightful, it can be a challenge for people dependent on a wood-burning stove for heat. The question is: How can you improve the efficiency of your wood stove?


An obvious answer is to buy a new one with a built-in catalytic combustor, but they can be expensive. Thankfully, there are other ways to do it.


Here are some steps you can take to improve the efficiency of your wood stove:


1. A clean stove and chimney


Barring a warm spell, it’s a little late in the season to do some of this work, but good chimney sweeping and cleaning of the interior of the firebox can improve the efficiency of any wood stove. This also cleans out any creosote, which can impede air flow and pose the potential danger of a chimney fire.


Air flow is critical to good combustion and heat, and anything you can do to properly manage it will make a difference. If you have a brick chimney, make sure any cracks are sealed. This not only will avoid the potential for a fire but also will improve air flow.


2. A well-sealed stove and damper


There are two primary controls for air flow on a wood stove. These include small gaps that can be opened and closed on the front-bottom of some stoves, and the damper on top of the stove or in the chimney about two to three feet above the top. The damper is the primary air-flow control.
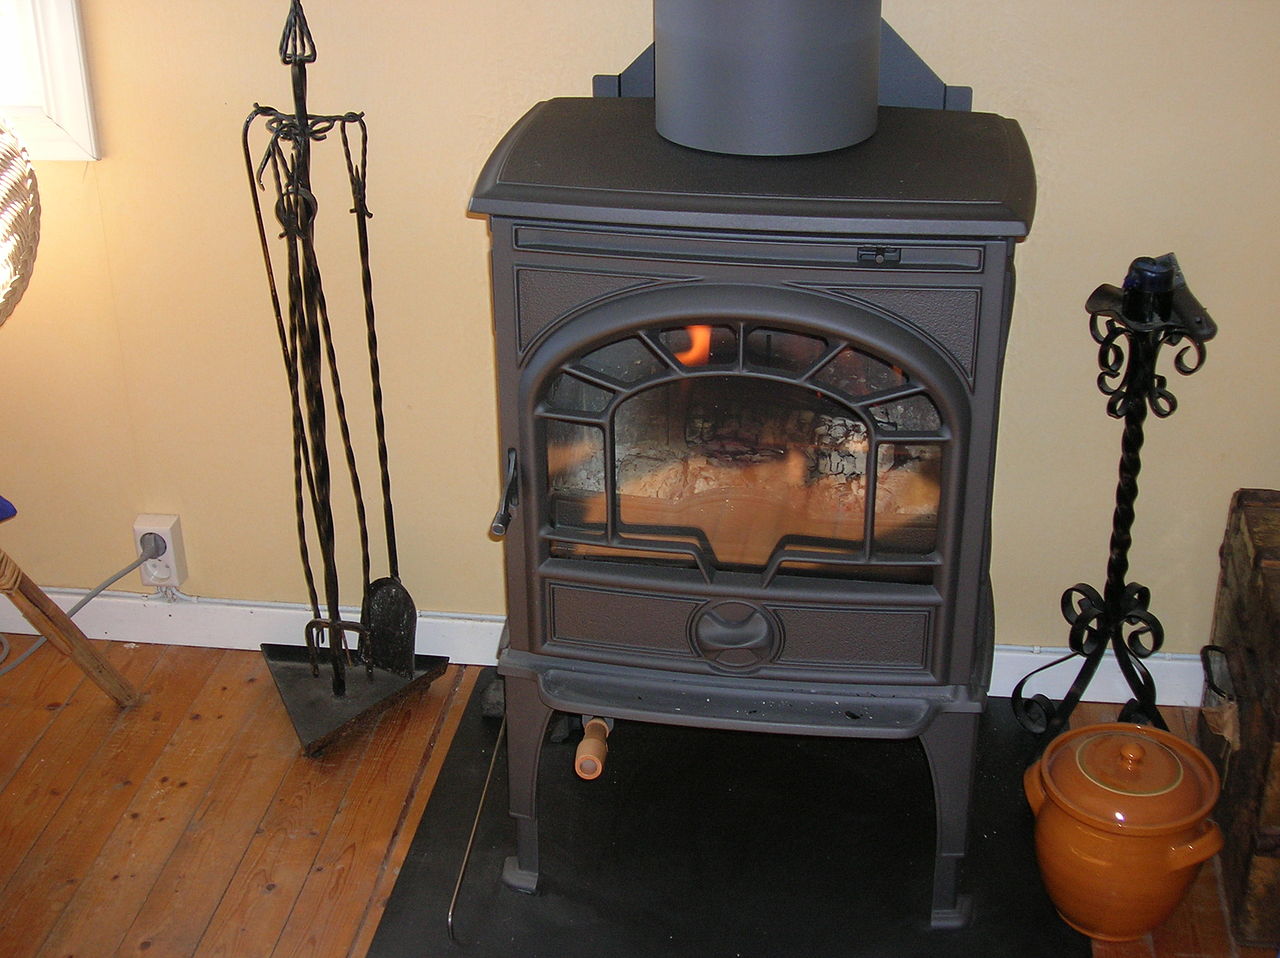

6 Simple Ways To Get More Heat From Your Wood StoveA problem can emerge if there are unwanted gaps on the stove. These typically happen around the door for the fire box. There are kits that allow you to replace the gasket, but it requires you to remove the door and let it cool. That’s tough stuff during winter. There are also kits that allow you easily to fill gaps as a short-term fix. Either way, an unwanted gap will cause you to lose control of your air flow and result in a fire that burns too hot for too long.


Crazy Gadget Makes Every Window A Cell Phone Solar Charger


The damper also could have a smoke leak or allow air to enter where the spindle emerges from the chimney or stove. This spindle is attached to the damper flap and here again, wood stove supply stores or websites have various solutions you can quickly apply.


Assuming your stove is well-sealed and the damper is operating properly, there are some key things to damper management. The basic advice is that whenever you start a wood stove fire, you should leave the damper fully open for 30 minutes to get the fire off to a good start and properly heat the chimney for efficient drafting.


3. Seasoned wood vs. green wood


Green wood can have a moisture content between 30 and 60 percent. The result is poor combustion and lots of smoke and creosote. In fact, green wood with a very high moisture content takes more energy to burn than the energy it releases in the form of heat. It’s important that you use seasoned wood for a wood stove.


The U.S. Forest Service recommends that firewood be seasoned for six months to a year in a sunny location and protected from rain and snow with a tarp.


Another firewood consideration: Are you using softwood or hardwood? Softwoods, like pine and fir, are great for starting a fire because they burn hot. But they also burn very fast. That’s why you want to establish a good, hot bed of glowing coals with softwoods and then add two or three hardwood logs like oak or cherry. Hardwoods burn hot when well-ignited — and burn long. Make sure you don’t overload the firebox and when necessary, carefully remove the ashes to an ash bucket and dispose of in an ash pit outside.


4. Added iron on the stove top


My mother has three pieces of cast iron in the shape of ducks sitting on top of her wood stove. The iron pieces get hot and increase the heat exchange capability of the stove by presenting a larger hot surface area to the surrounding air. There are also iron pieces with simple fan blades that actually spin very slowly as the heat rises and runs over the blades.  This, to a small degree, can help distribute some of the hot air.


5. Forced-air blower


A more robust solution for air distribution is a forced-air fan that will blow the hot air from the stove’s surface into a room. This requires electricity so it’s not a pure off-the-grid solution, but solar panels could be enough to power the fan.


6. The catalytic combustor


Image source: stove-parts-unlimited.com

Image source: stove-parts-unlimited.com


Many of the newer wood stoves feature a catalytic combustor as an efficiency feature. You also have the option of buying a separate catalytic combustor for installation into an older stove.


A catalytic combustor is a ceramic disc, usually about six inches in diameter and two inches thick. It has a honeycomb appearance and is coated with a rare metal called palladium. It’s inserted into the top of the stove where the smoke rises to the chimney and works to combust the smoke.


Smoke is essentially a gas that failed to combust and (most of the time) requires at least 1,000 degrees Fahrenheit to fully ignite. A catalytic combustor will combust the smoke at temperatures as low as 500 degrees Fahrenheit.


The result is that the fire burns better and hotter and any residual smoke that could cause creosote buildup is reduced. In fact, a catalytic combustor can reduce creosote buildup by anywhere from 20 to 90 percent


It’s reported that catalytic combustors are good for 12,000 operating hours before they have to be replaced. That equals 500 days, so you can probably get several years of service from one catalytic combustor.


One caution is that you should only burn natural woods (no building lumber, paper, or treated woods) with a catalytic combustor or the life of the combustor and its efficiency will decline.


How do you make your wood stove more efficient? Share your tips in the section below:


Are You Prepared For Extended Blackouts? Read More Here.

Friday, October 14, 2016

Things That Make Splitting Wood Simpler, Easier & Even Fun

Things That Make Splitting Wood Simpler, Easier & Even Fun

Image source: Pixabay.com


When maple leaves are glowing red and gold, Canada geese are honking overhead, and patches of white frost accent the path to the barn, it is time for homesteaders to turn their attention to seasonal matters.


The rhythms of those who heat their homes with wood vary from person to person. Some stay a full year or more ahead on their firewood, cutting and splitting all their wood for the winter of 2016-17 during the year 2015. Others get the current season’s wood done just in time to chuck it into the woodstove as the snow starts flying. Most of us hit it somewhere in the middle of those two extremes.


No matter how far ahead you may or may not be, you probably like to take advantage of the cooler autumn temperatures to split firewood. And now that wood-splitting season is upon us, it is time to get serious and get ready. If a weekend set aside for firewood processing is in your future, make sure you have all you need to keep things running smoothly from start to finish. Here are some things you may have forgotten – things that will make the day’s task much easier.


First, make sure your wood splitter is tuned up and running well. Assuming you use power equipment to aid in splitting your wood — be it powered by electricity, gas or a tractor — you will want to have it in the best working condition possible. Having a malfunction which slows or stops progress can be frustrating, so be proactive about having it ready. Take it to a shop or do the work yourself, but take care of whatever is necessary to prevent breakdowns and sluggish operation.


Crazy Gadget Makes Every Window A Cell Phone Solar Charger


Have a supply of fuel ready. Keep in mind that some small-engine mechanics warn that gas older than 60 days ought not be used in small engines, and make sure you have the gas cans topped off so you will not have to interrupt the flow of work to go for a fuel run. If your splitter is PTO-driven, make sure you have enough diesel fuel for the job.


Do not forget lubricant for the log table. This is a small item but one which ought not be overlooked. I am fastidious about spraying my splitter table every time I start it up, and the occasions when I used up the last can and forgot to replace it or it got misplaced have resulted in delays. If you live out in the country where stores are a long drive away, little things like this are even more crucial to gather up ahead of time.


Have an axe or hatchet handy. Having at least one piece of wood put up a fight is almost guaranteed. Bucked-up firewood has a mind of its own, and will sometimes twist around a knot or pull apart in sinewy portions that are difficult to master. A quick chop with an axe is a great remedy.


Things That Make Splitting Wood Simpler, Easier & Even Fun

Image source: Pixabay.com


If you live in an area where snakes pose a threat or if you have an aversion to them, you will want to keep something within easy reach for possible encounters. Firewood piles make excellent snake habitat, and you will want to have a way to deal with them if needed. A long handled axe or hoe close by is good insurance.


A pulp hook is often useful for moving and lifting firewood. Using a hook gives the user better control, more leverage, increased arm length, and creates a little more space between him-or-herself and potentially dangerous moving logs.


Ear protection is advisable. Gas-powered wood splitters are loud, and muffling the sound is a good idea. While it may be tempting to go without ear defenders when splitting with other people so as to convey information, it is useful to consider that you probably cannot hear them well enough to communicate verbally anyway. Instead, consider developing a plan that includes a few unmistakable nonverbal signals when working with others, for the sake of safety and ease of operation.


Make sure your gloves are the right ones for the job. Many people prefer leather gloves, but my experience has found them to be slippery — which is very dangerous when handling wood, as it can result in less control of the wood and possible foot injuries — and they tend to wear out quickly. I inherited a pair of knit fabric gloves with rubbery palms and fingers one year when a farm hand left them behind, and I have since thrown away every other pair I had and begun purchasing the fabric-and-rubber types by the dozen. I find them to grip wood well, fit comfortably, and last longer than leather.


Discover More Than 1,100 Homesteading Tips And Tricks!


One final thing to make sure you have ready to go on firewood-splitting day is a collection of good friends. Not only do many hands make for light work, and particularly with firewood processing projects which easily lend themselves to being done assembly-line style, but they make for fun as well.


If you do have friends and family show up to help, be sure to have plenty of cold drinks and snacks available for the whole crew. You might even need to consider a barbecue after the work is done if you want to make sure they return next year.


As with any tasks involving power equipment, make safety a priority. If goggles, chaps, steel-toed footwear, and a helmet seem like a good choice for you and your work team, do not hesitate to use them.


Splitting and stacking firewood for the winter are some of my favorite homesteading activities. I cannot promise that by following the above steps will transform it from a detestable chore into a fun time, but being prepared can often alleviate some of the stress and aggravation that can go along with any big job. And when you are enjoying the warmth of a cozy wood fire while the snow is falling outside in winter, you will know that your wood-splitting work was worth the trouble.


What wood-splitting advice would you add? Share it in the section below:


Discover The Secret To Saving Thousands At The Grocery Store. Read More Here.